How to paint a black & white portrait in Oils a Step by Step approach
In this series of 5 posts I am going to look at the process of how to tackle painting a black & white portrait using oil paints.
Mixing Raw umber for this layer


Step 10 – Adding more darks on the features

Step 11 – Strengthening the background


Then, using a size 10 Ivory Filbert, I gently unify the tone to get rid of brush marks and fuse the edge between the hair and the background.
Step 12 – Introducing the Lights
A note about underpainting white with acrylic paint
Pro tip: In this demonstration I under paint the lights with oil paint. However, if I’m working to a tight deadline and the ground has been prepared with an acrylic gesso there is another option that you can work an underpainting with acrylics.
Be careful not to paint too thickly or you will have a plastic resist to the oil paint, notice in part 1 how the coloured ground was applied thinly so the oil could still adhere to the canvas.
3 Different kinds of White
- Flake white - This is a lovely white that brushes out nicely and has a nice flexibility in the paint film. It is also a quick drier compared with Titanium white, so is useful for under paintings. This makes it a great white for mixing subtle tones when working with a full palette for oil portraits as you can shift the colour, yet still work in semi opaque layers to develop the skin tones.
It has a semi-opaque finish and is the least white of the white. For finishing highlights, or a really bright white, Titanium white is a better choice.
For this tutorial it is not as important and you could use a Titanium white for the whole way through. This way you can get used to using thicker, more opaque colours that will help you to understand the basics of painting, rather than getting obsessed with the subtleties of glazing.
- Titanium white - I find this is the most opaque and bright white, it is a slower drier than Flake white and is very thick when it first comes out of the tube.
Pro tip: I often mix my Titanium white with OMS just to create a more flexible and free flowing consistency, I then keep a small blob of the pure white for adding the thickest, brightest highlights.
- Zinc white – Another semi-opaque white used for mixing and subtle-tinting of colours, I personally don’t use this much in my paintings.
A note about Lead Whites

Drying rates of oil paints


Notice how on the whites I block in the mix doesn’t completely cover the coloured ground.


Step 13 – Softening the Lights

Tune in next week for stage 3.


I then remove the value strip and we are ready to begin.


Pro tip: If you are finding it hard to isolate the colour the use a hole-punch to punch a hole in each square, this way you can use them as a viewfinder.
Solid painting
.”
Harold Speed


Adding the midtones


I haven’t blended any of the tones, I am just simply blocking them in with a flat tone.
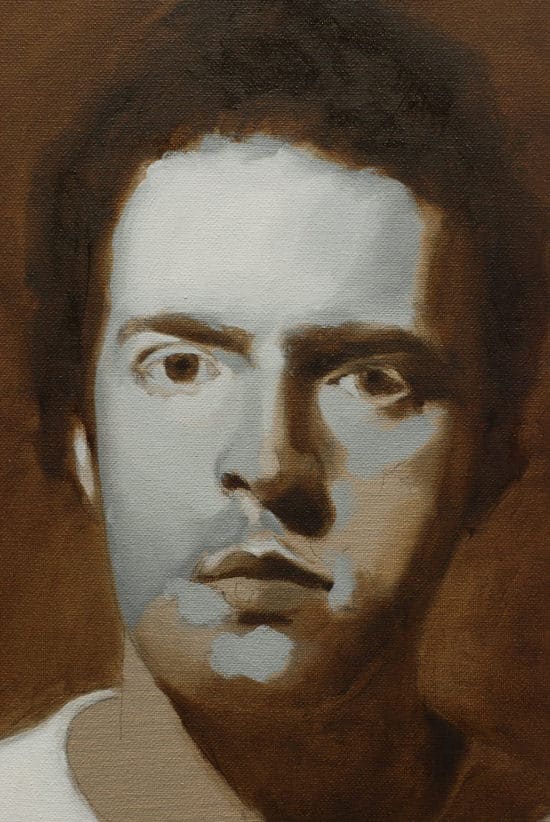

I then block in the tone on the neck, again this could have been done earlier but you’ll find the more tones you add, the easier they are to judge in comparison.

Adding the darks

As the light starts to drop off, I add the darks into the shadow side of the face, notice how the tones have been dropping darker to the right and the bottom of the picture due to the light source being from the top left.


I continue adding a darker value 8 into the shadow under the chin. Notice how blue the paint appears next to the raw umber. The tones are still quite flat with limited blending, still just using the size 4 ivory filbert.

I now mix a value between the 8 & 9, you could go straight in with the 9, but I wanted to leave this for the final part of this stage.


I then soften the edge slightly using the filbert.


Notice how light the first shadow now looks in comparison to the black.


Part 2 – Developing the tones, adding lights.
Part 3 – Modelling the big forms.
Part 4 – Second Painting
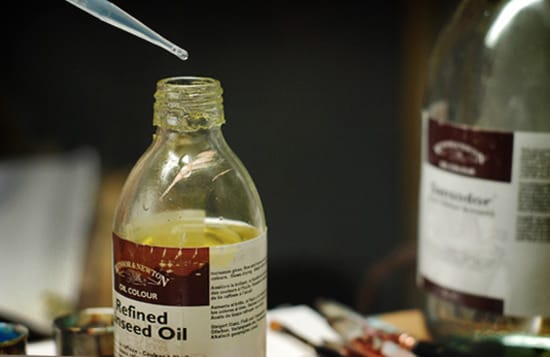
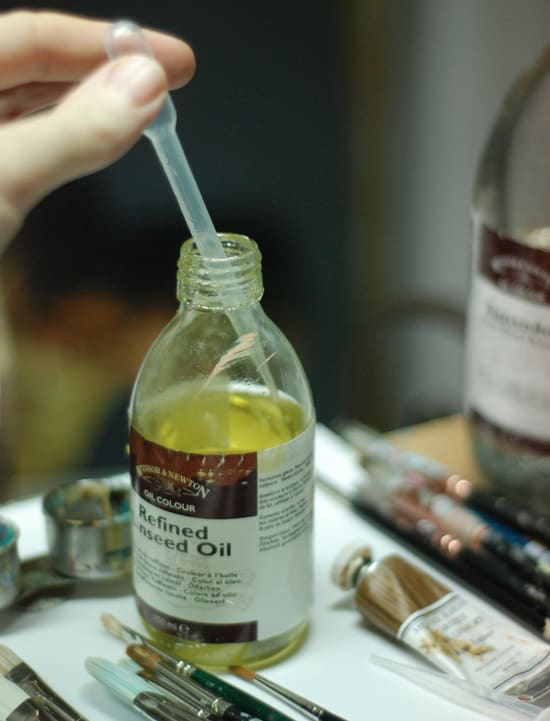
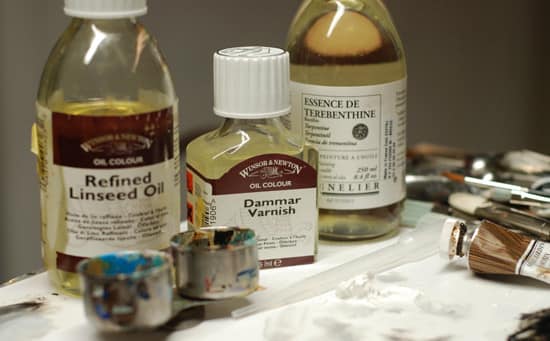
Mixing a new medium
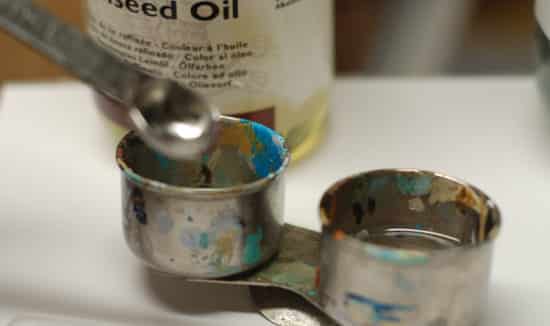
- 2 Part linseed oil to 1 Part Odourless mineral spirit (OMS)
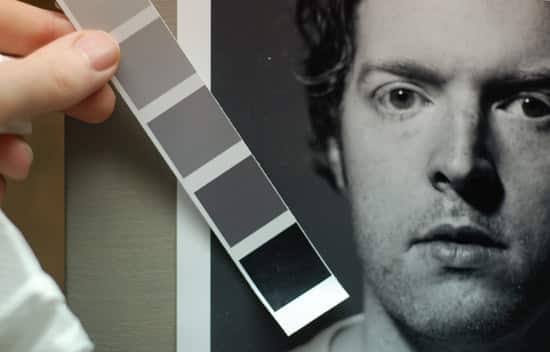
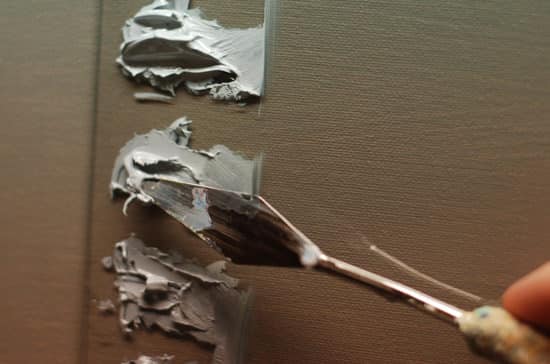
Before we begin
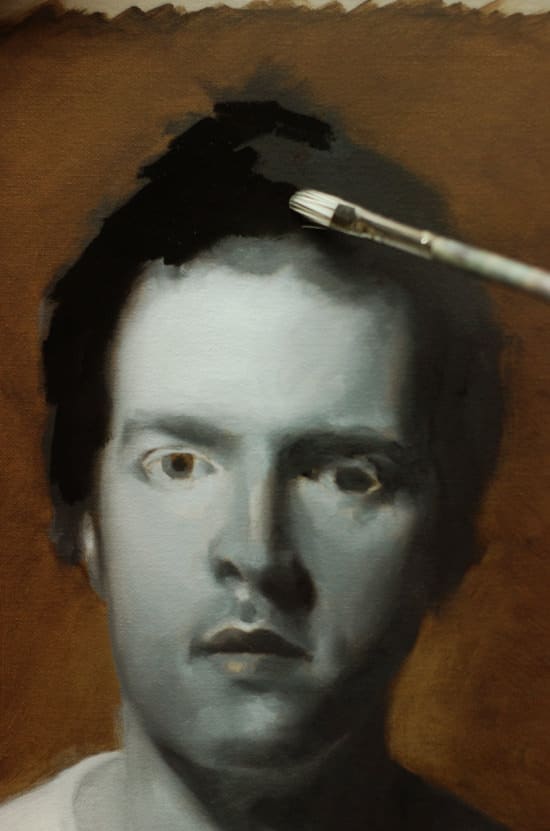
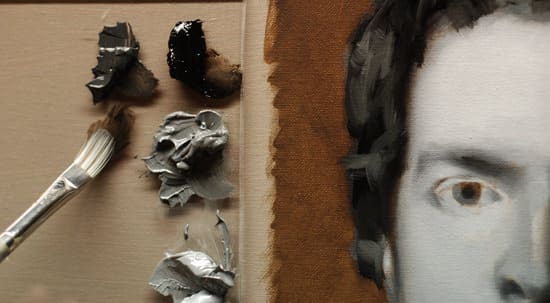 I then work over the
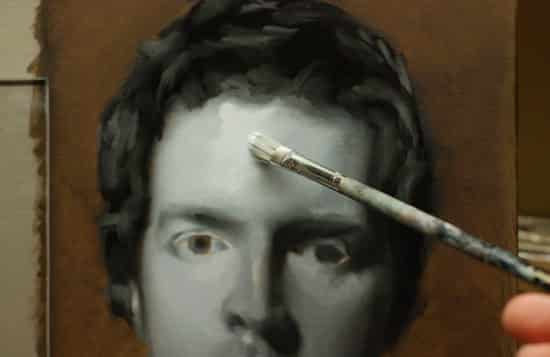
I now add some thicker lights using a value 2 and 3, flicking my eyes between the portrait and the photograph.
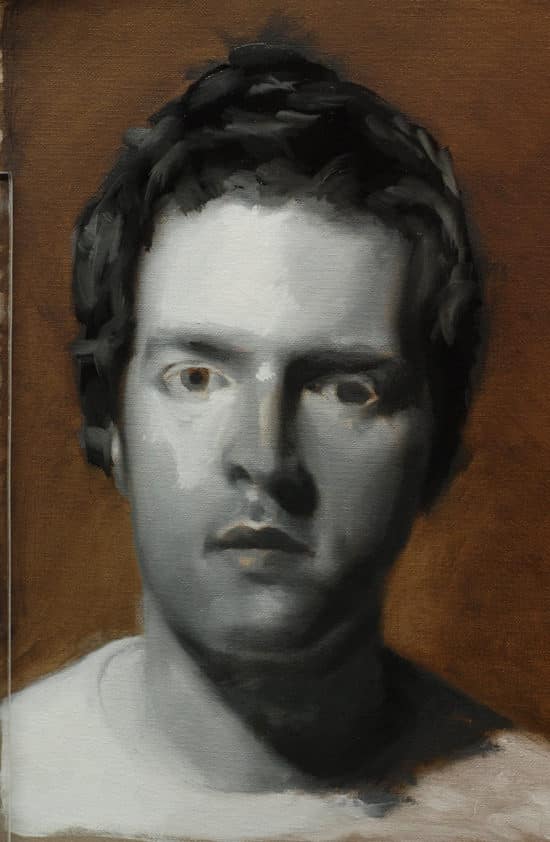
I continue to adjust the tones, working my way down the portrait as before. You’ll notice how the paint has a harder edge because there isn’t any of the wet paint underneath for it to blend into.
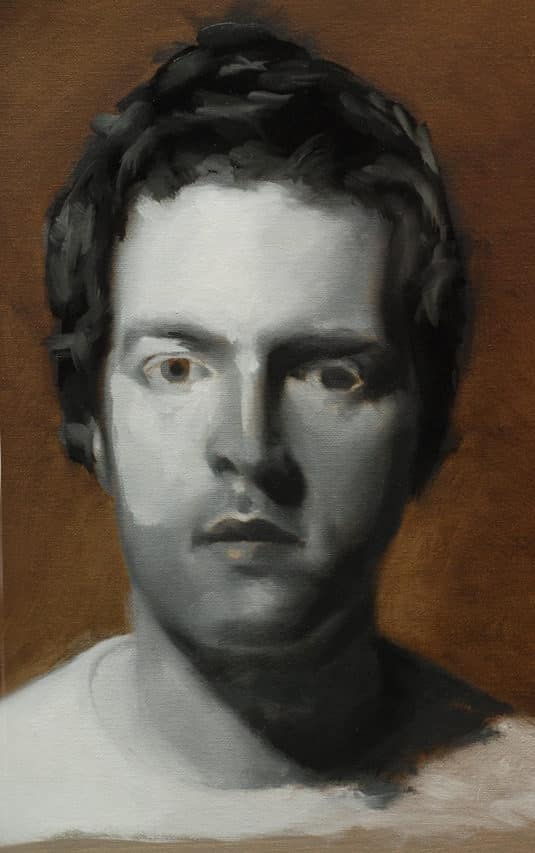
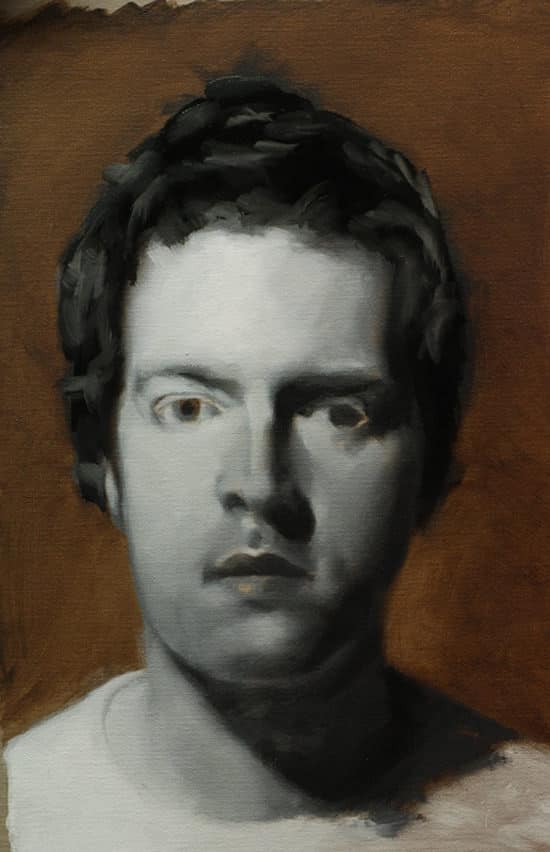
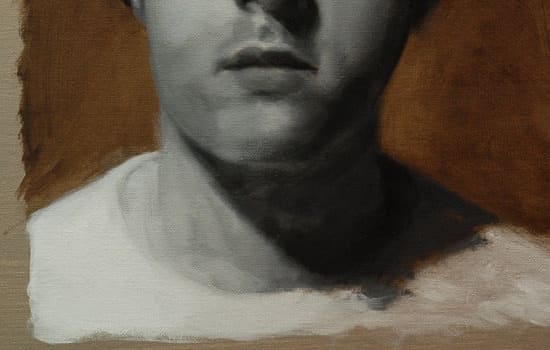
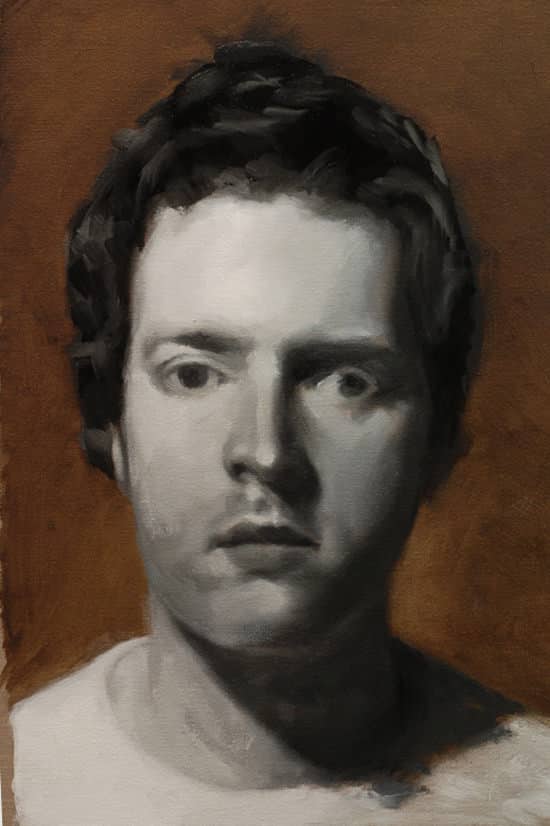
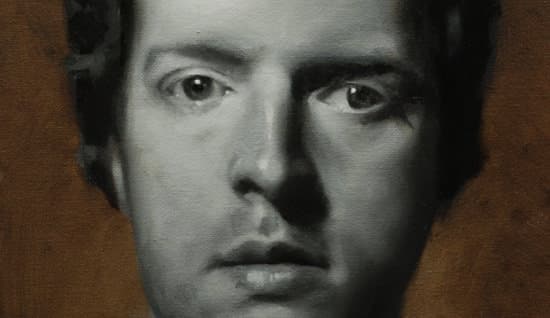
Notice how the eyes have a softer finish than the previous photo.
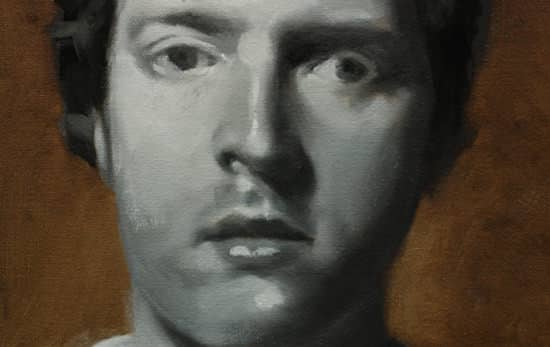
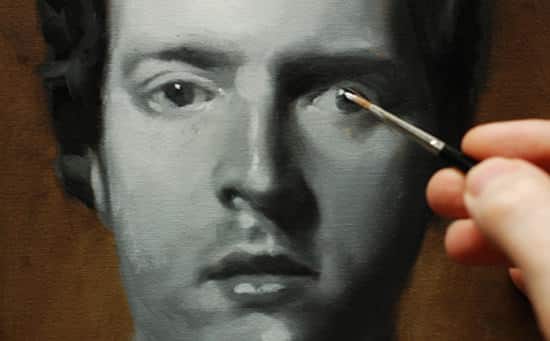
To help judge the tones I now add a pure titanium white highlight to the eyes, these are simply two dots of white. It’s amazing how much life these can bring into a portrait.
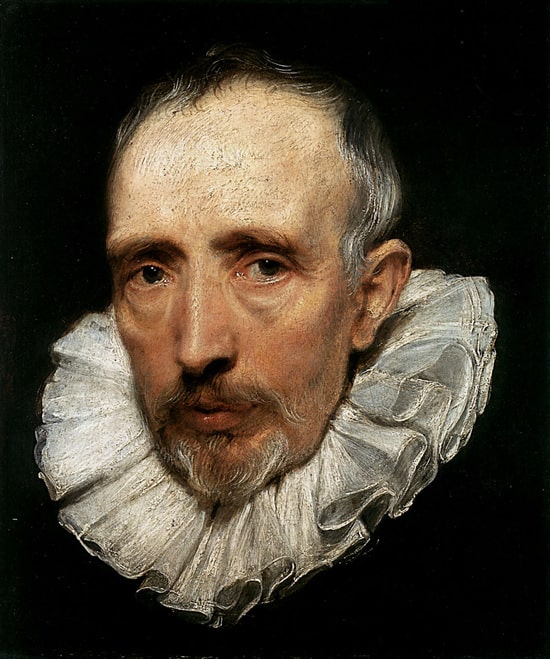
Anthony van Dyck, Portrait of Cornelis van der Geest, 1620
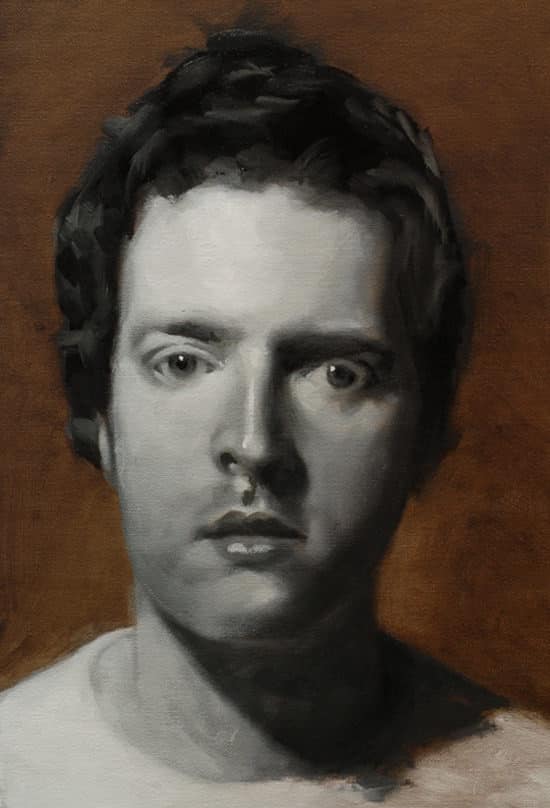
I now model the shape more using the smaller brushes, I might work between a size 2 & size 4 of the Ivory filbert and the sable.
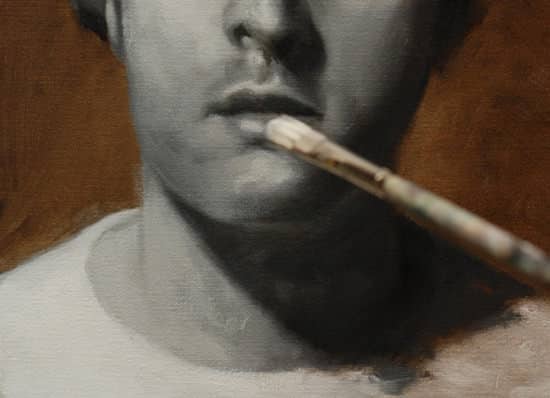
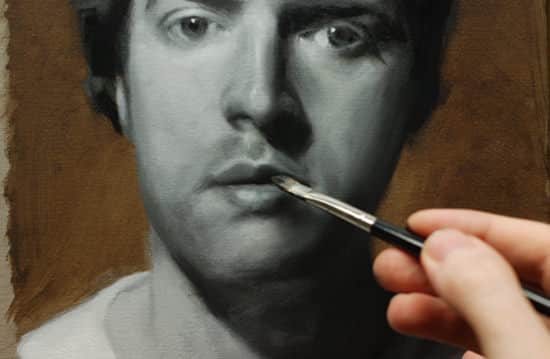
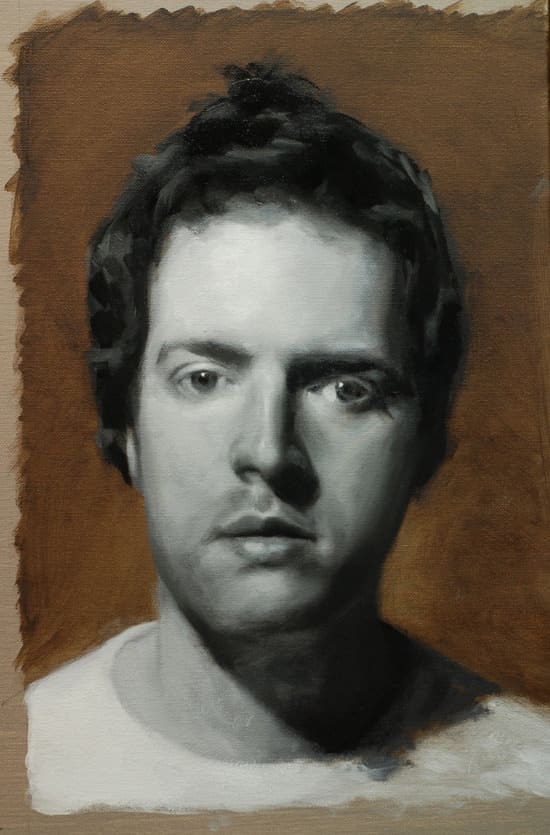
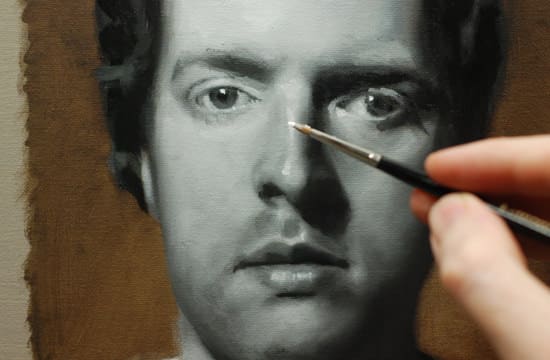
I now add some more highlights to the nose and the eyes.
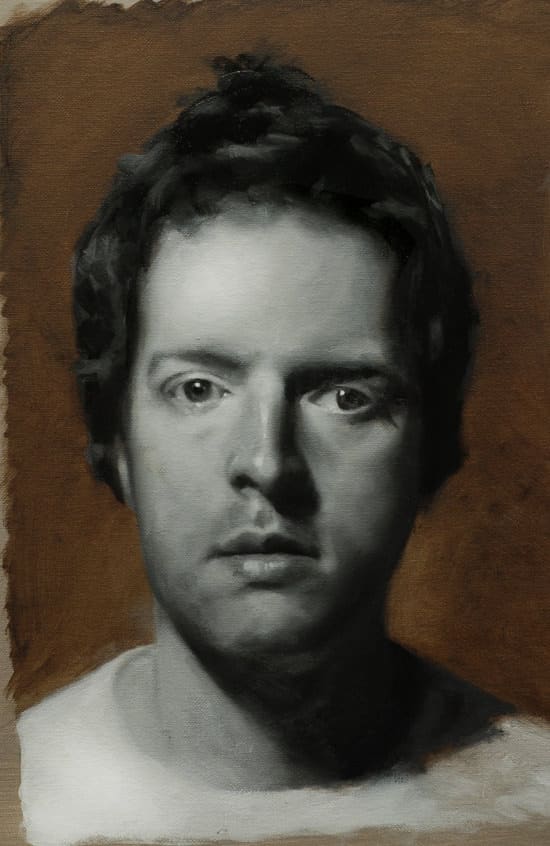
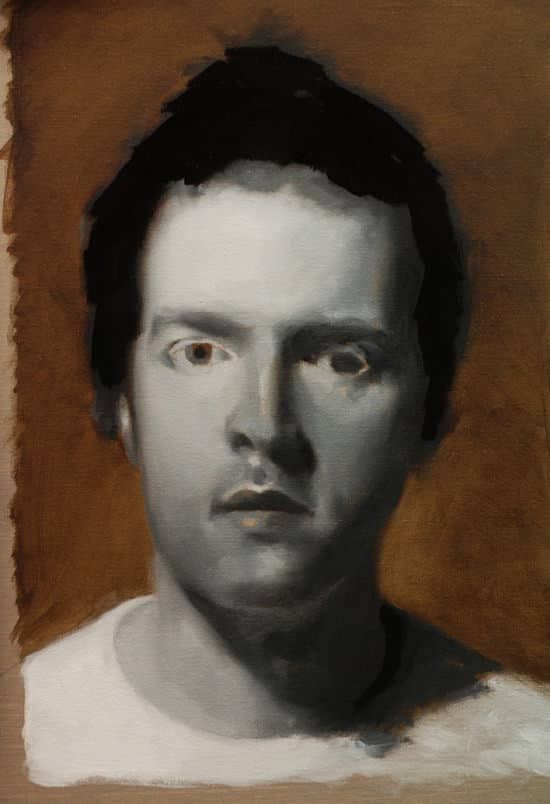
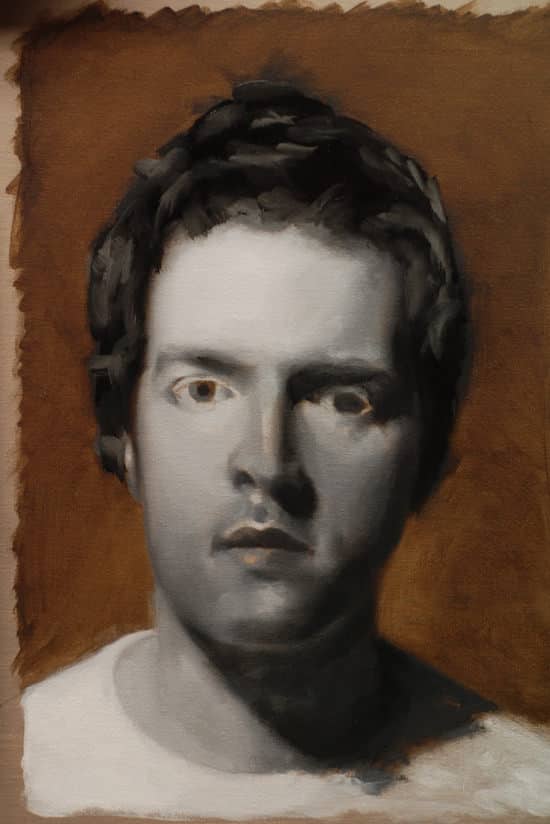
So now we have the painting looking more like the sitter and the features with more detail and form.
Tune in next week for stage 5 when we add the final glazing and finishing touches to the painting.
Happy painting!
You might also like:
1. How to Paint a Portrait in Oil – Part 1
2. How to Paint a Portrait in Oil – Part 2
3. How to Paint a Portrait in Oil – Part 3
4. How to Paint a Portrait in Oil – Part 5

How to paint a portrait series. This is part 5 of a 5 part series of tutorials for beginners making the transition from drawing to oil painting.
We look at how importance value and tone are in creating a realistic black and white portrait using classical oil painting techniques.
Here is a quick review of what we have covered so far if you’d like to join in…
Part 1 – Establishing the drawing, including the shadow line.
Part 5 – Finishing & Glazing

Reusing Old Oil Paint
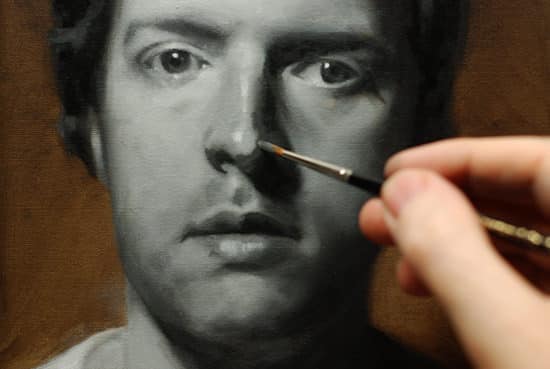
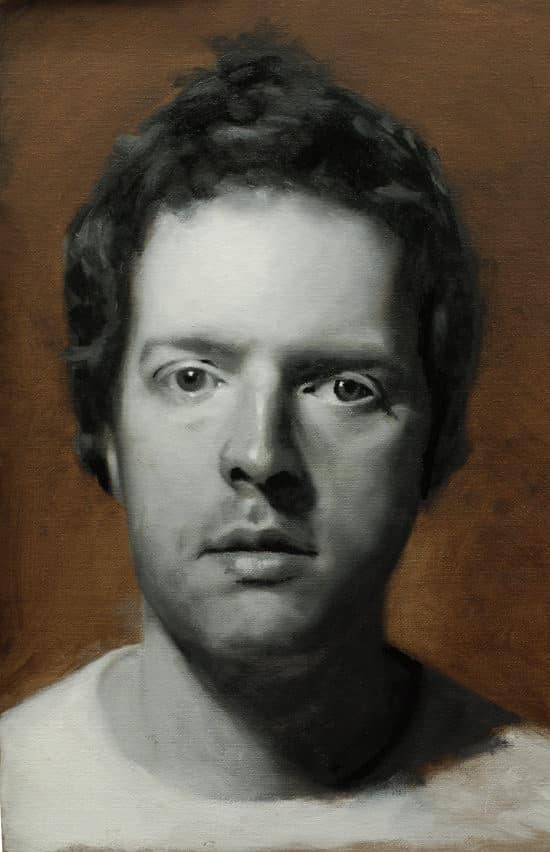
I also add dark accents to the darkest points in the portrait, these can look a bit ‘stuck on’ but I will be softening them shortly.
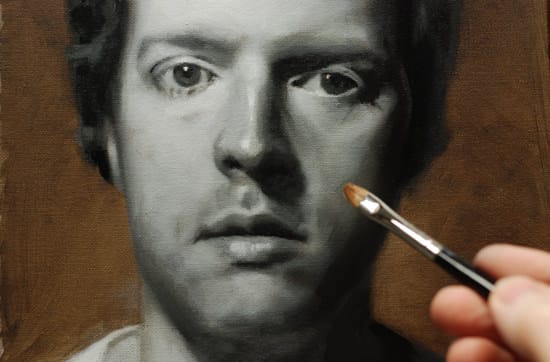
What is a Glaze?


Focus in portraits

Adding dark accents
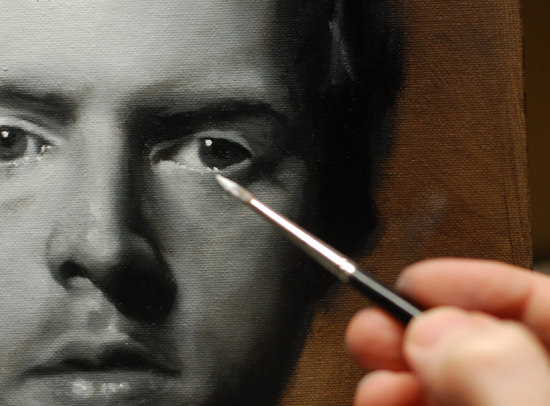
Adding catchlights

A Word of Warning…

Darkening the background
After looking at the portrait I felt I could go darker onto the background. I quite like the Raw umber on it’s own but wanted to show you how much the background can affect your subject.
I use a thin mix of Raw umber and Ivory black and apply it to the background, much like the initial stage when we were just using the Raw umber. I use the number 4 Ivory Filbert to scrub the paint in, I don’t mind if the mix goes over the edge of the hair as it helps to blend it in and bring the face forward.
Notice how the lights suddenly look lighter due to the change in contrast we have created by adding a darker background to the portrait.


Reviewing the Process of Light and Shadow.
'인물 초상화' 카테고리의 다른 글
| 그때 그 시절 /주문 (0) | 2014.02.17 |
|---|---|
| 추억속으로 /주문 (0) | 2014.02.17 |
| 2014년 1월3일 Twitter 이야기 (0) | 2014.01.03 |
| 이상원 작가의 그림 세계 (0) | 2013.11.19 |
| 2013년 11월13일 Twitter 이야기 (0) | 2013.11.13 |
